(Step-by-Step iPhone Screen Replacement Guide)
How to Replace Your iPhone Screen in 5 Easy Steps?

Our iPhones have become an integral part of our lives, holding endless possibilities within their sleek screens. But sometimes, fate has other plans, and a cracked screen becomes a daunting challenge. Don’t worry, iPhone owners, because hidden within those cracks lies a story of resilience and redemption. Together, we will embark on a journey to replace your iPhone screen, turning what seems impossible into an empowering achievement. Armed with the right tools and a sprinkle of patience, you will triumph over adversity and bring your beloved device back to life.
Join us as we uncover the five easy steps for iPhone screen replacement. Get ready to defy expectations and reclaim your iPhone’s former glory without costly professional help. Are you prepared for this quest that will renew your faith in the incredible possibilities at your fingertips? Let’s dive in!
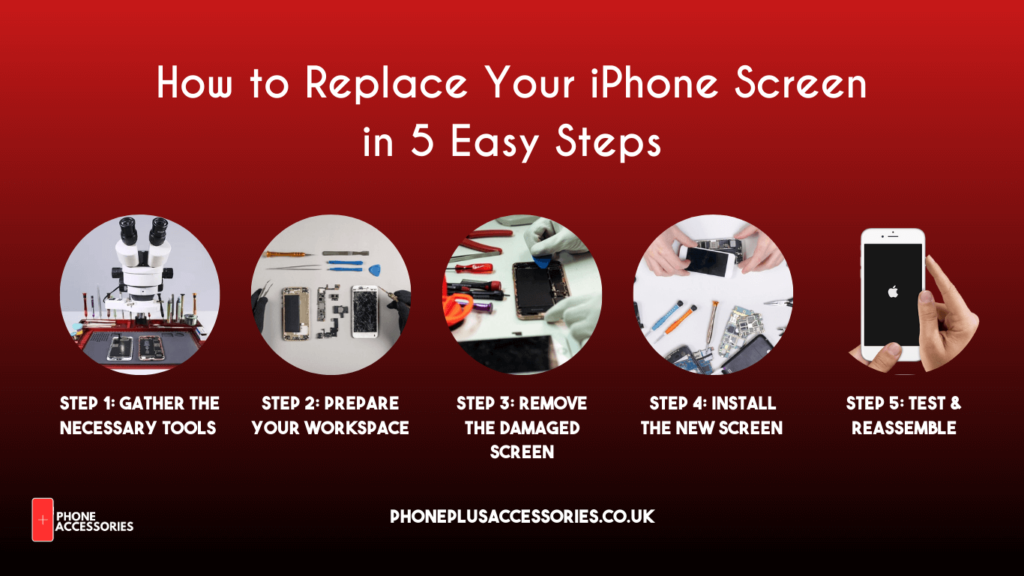
Step 1: Gather the Necessary Tools
Before you begin the iPhone Screen Replacement process, it’s important to ensure you have all the necessary tools. Here is a list of tools you will need:
- Replacement screen kit
- Screwdriver set (preferably magnetic)
- Suction cup
- Plastic spudger
- Tweezers
- Adhesive strips or adhesive glue
- Cleaning cloth
Step 2: Prepare Your Workspace
Preparing your workspace properly is crucial to ensure a successful screen replacement. Follow these steps to set up your workspace:
- Find a clean, well-lit, and spacious area to work in.
- Lay down a soft, clean cloth or towel to protect the screen and prevent scratches.
- Prepare small containers or a magnetic mat to keep track of screws and other small parts.
- Power off your iPhone and remove the SIM card.
Step 3: Remove the Damaged Screen
Removing the damaged screen requires careful attention to detail and patience. Follow these steps:
- Use the suction cup to lift the screen slightly from the bottom edge.
- Insert a plastic spudger or a thin, flat tool between the screen and the body.
- Gently pry the screen away from the body, starting from the bottom and working your way up the sides.
- Be cautious not to apply excessive pressure or bend the screen too far, as it can damage the display cables.
- Once the screen is loose, carefully lift it, exposing the display cables.
- Disconnect the display cables by using a plastic spudger or tweezers, taking care not to damage the connectors.
Step 4: Install the New Screen
Now that you have successfully removed the damaged screen, it’s time to install the new one. Follow these steps:
- Take the replacement screen of iPhone and ensure it matches the model and specifications of your iPhone.
- Connect the display cables to their respective connectors on the iPhone’s logic board.
- Gently lower the new screen into place, aligning it with the body.
- Press around the edges of the screen to ensure it sits flush and securely in place.
- Replace any screws that were removed during the disassembly process, following the correct order.
- Carefully reinsert the SIM card.
Step 5: Test and Reassemble
After installing the new screen, it’s essential to test its functionality and reassemble the iPhone properly. Follow these final steps:
- Power on your iPhone and check if the screen is responsive and displaying correctly.
- Test the touch sensitivity and ensure all areas of the screen are functioning properly.
- If the screen is not working correctly, double-check the connections and reseat them if necessary.
- Once you are satisfied with the screen’s performance, carefully reassemble the iPhone by following the disassembly steps in reverse order.
- Replace any adhesive strips or apply adhesive glue to secure the screen in place.
- Use a cleaning cloth to wipe down the screen and remove any fingerprints or smudges.
- Power off your iPhone and give it a final inspection to ensure everything is properly reassembled and aligned.
Also, watch this tutorial by Micheal Klements, he has a great short tutorial to help you get started.
Get Professional Help From Phone Plus & Accessories Technicians
iPhone screen replacement might seem like a daunting task, but by following the step-by-step process, you can successfully replace your iPhone screen in just five easy steps. Remember to gather the necessary tools, prepare your workspace, remove the damaged screen with care, install the new screen properly, and test and reassemble your iPhone. With patience, attention to detail, and a steady hand, you can save money and restore your iPhone to its original condition.
However, if you feel unsure or uncomfortable with the repair process, it’s always recommended to seek professional assistance to avoid further damage to your device. Armed with this guide, you now have the knowledge and confidence to take on the task of replacing your iPhone screen.
Contact Phone Plus & Accessories’ technicians to get iPhone screen replacement service!
Share to :
Will sooner post for other models as well.